Setting up VPN#
Tip
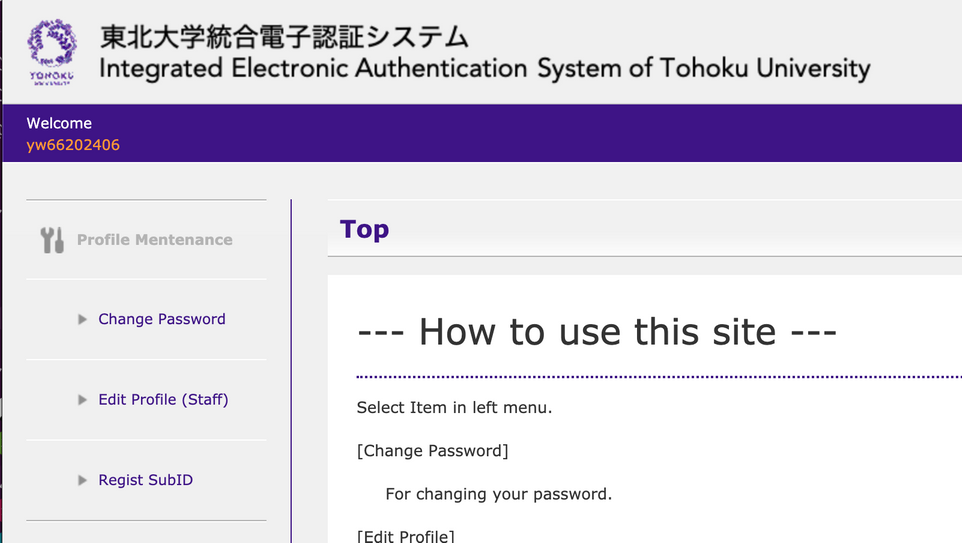
If you forgot your username and password, you can check it in the *Intergrated Electronic Authentication System of Tohoku University. https://www.srp.tohoku.ac.jp/webmtn/LoginServlet
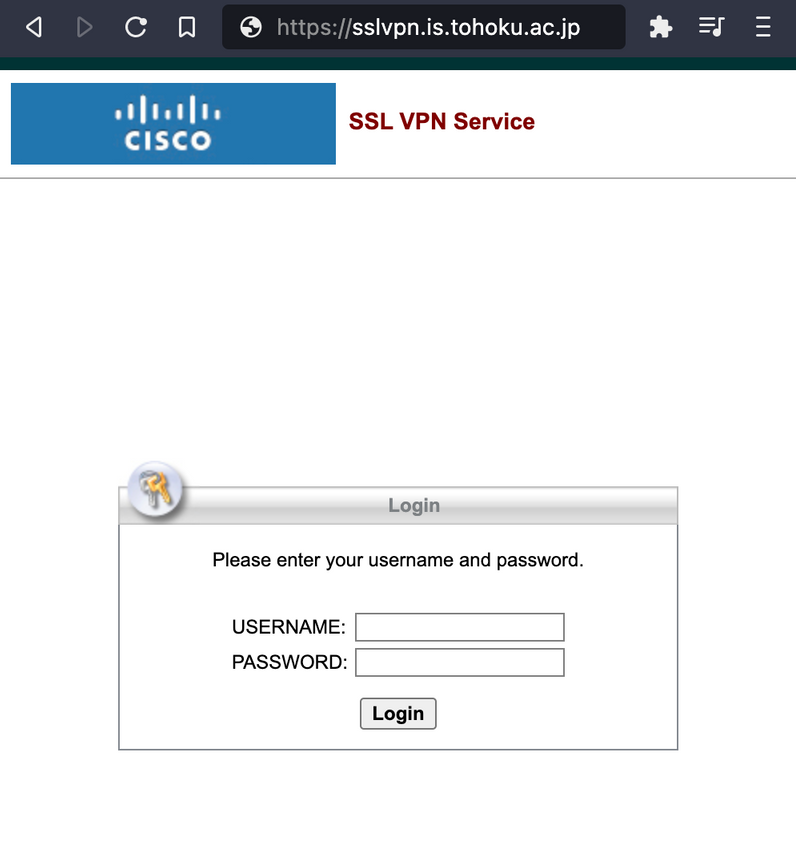
To download the SSL VPN connection client, first connect to
https://sslvpn.is.tohoku.ac.jp.Enter the user name and password with your SubID and SubID password and click the Login button.
Follow the instructions and proceed with the installation process.
Open Cisco AnyConnect Secure Mobility Client.
Enter
sslvpn.is.tohoku.ac.jp.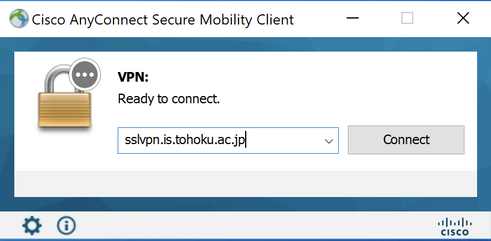
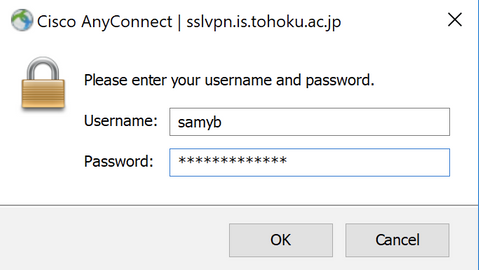
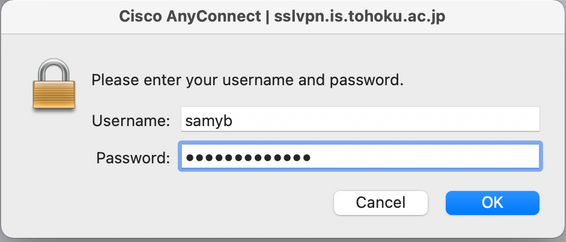
Enter your SubID and SubID password.
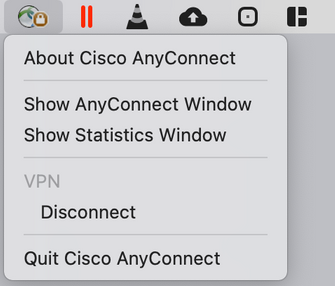
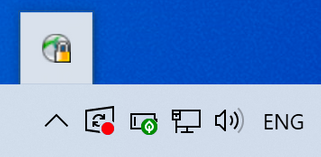
Check if you are connected (Cisco logo with a small lock icon).
To download the SSL VPN connection client, first connect to
https://sslvpn.is.tohoku.ac.jp.Enter the user name and password with your SubID and SubID password and click the Login button.
Follow the instructions and proceed with the installation process.
Open Cisco AnyConnect Secure Mobility Client.
Enter
sslvpn.is.tohoku.ac.jp.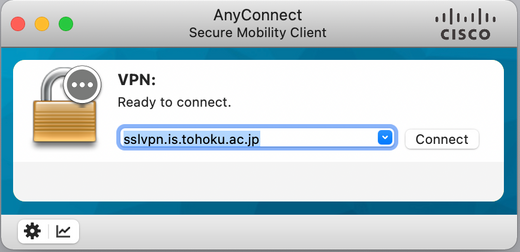
Enter your SubID and SubID password.
Check if you are connected (Cisco logo with a small lock icon).